There are several problems that intervene in the testing process. One of the most severe and frequent ones is redundancy. Testers sometimes end up doing the exact same thing over and over again. This can have negative consequences on your project, of which the most important is the fact that bugs might get overlooked. How do you counter this problem? Easy. Make an automated test for the repetitive sections. But how do you avoid repeating yourself in the tests themselves? The present article and the one that follows next week will show a couple of possible solutions.
There is always a simpler way of doing things. When it comes to running a test, you normally want to maximize its utility. Nobody wants to occupy disk space for nothing, or write the same thing over and over again.
Potential causes
As a tester, you would normally want to run the same code on all browsers. I had noticed that browsers are not quite alike when it comes to identifying elements or running Codeception via the webdriver. The first thought that popped into my head was to make a suite for each browser. Shortly after, I realized it was a very bad solution. The suites were taking up a lot of space and writing them all over again for each browser would have taken a lot of time. I started looking for a different solution. Soon enough, I found the answer.
How can you avoid this?
Well, it’s pretty easy. You just need to configure the yml file of your tests suite with different environments, one for each browser. Here’s how it’s done:
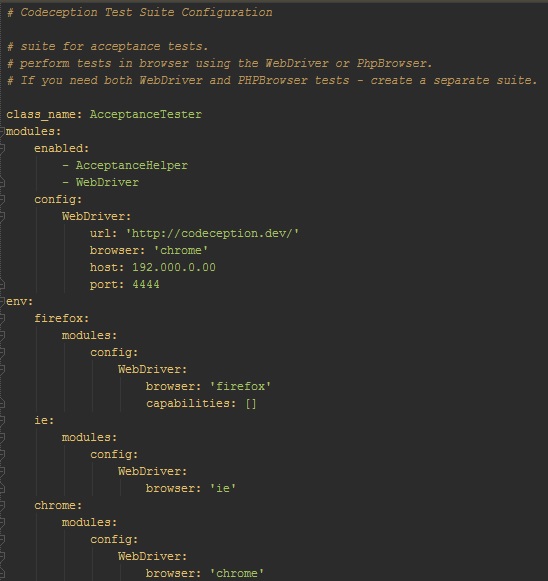
All you need to do is add the new environment configurations at the end of the yml file of the suite that you’re using. All of the configuration parameters can be changed, for all modules that you have loaded, for each individual environment. In the image below you can see a few extra configurations that can be added. You can add as many browsers as you want, as long as you have configured them in the yml file.
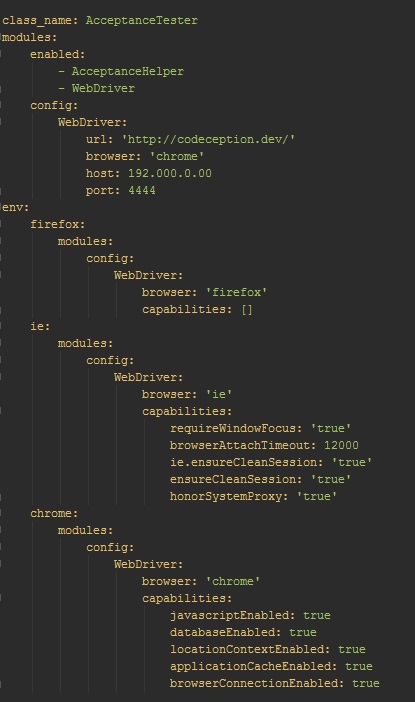
Here you can find all the available capabilities you can add for each browser. You can also configure the host, the port, or any other setting you might want to add.
Then, when you run the command that starts the tests, just add “–env firefox –env chrome –env ie” at its end, ending up with something like:
`php codecept.phar run acceptance –steps –env firefox –env chrome –env ie`
That’s it for today! If you have any questions, feel free to leave a comment in the section below, and I will get back to you shortly. The next article concerns adding custom methods to Codeception and adapting them to suite your testing needs. Subscribe here if you don’t want to miss out on any of the information.